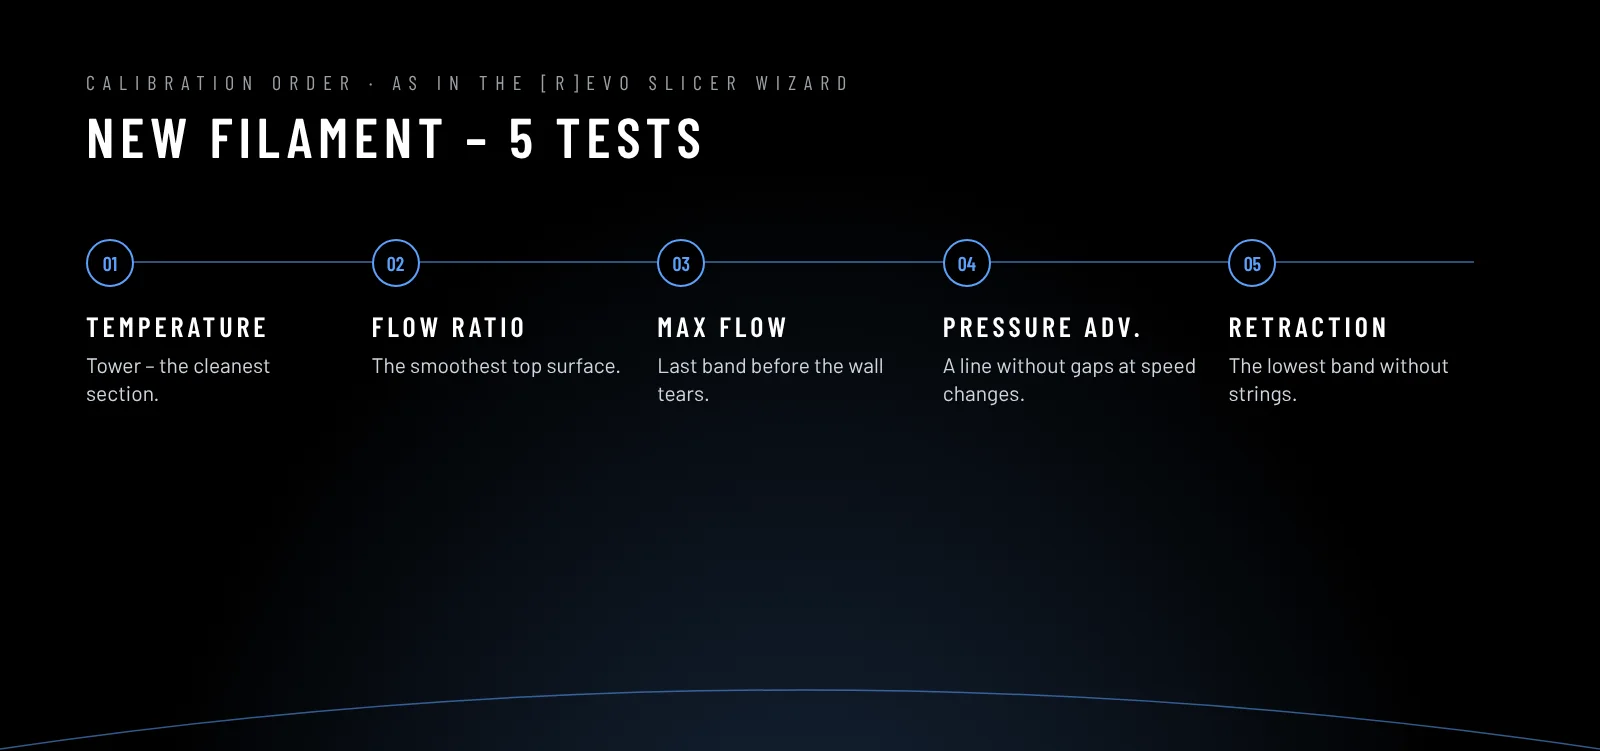
[r]evo Slicer and Orca Slicer have built-in calibration tests in the Calibration menu. In [r]evo Slicer the easiest way is the New Filament Wizard – it follows the same order as this guide. Every test generates a ready project to print. Run them in this order and save each result in the filament profile before moving on.
Filament manufacturer's guidance comes first. Every manufacturer has its own formulations and publishes its own parameters – nozzle, bed and chamber temperature, drying, cooling. Even the same material (e.g. PETG) from two brands may need different settings. Treat the values in this guide as a starting point: check the technical data sheet (TDS) and the spool label first, and if something is missing, ask the filament manufacturer for guidance.
Important: start with dry filament. Calibrating wet material gives false results.
1. Temperature
The first test, because everything else depends on temperature. Take the starting range from the label or the starting table.
- Calibration → Temperature. A tower prints – each level at a different temperature.
- Pick the level with the cleanest bridges and sharpest details, without strings or delamination.
- Enter the temperature in the filament profile.
2. Flow rate
Sets how much material actually comes out of the nozzle compared with what the slicer assumes.
- Calibration → Flow rate → Pass 1. Several blocks print with different flow corrections.
- Judge the top surface: pick the smoothest block, with no gaps between lines and no over-extrusion (bumps, ridges). Touching it often tells you more than looking.
- Calculate: new flow = current flow × (100 + block correction) / 100. Enter it in the filament profile.
- Optionally Pass 2 – finer steps around the chosen value.
3. Max volumetric speed
Tells you how many mm³/s of material the hotend can melt. Going over that limit gives under-extruded, weak prints at high speeds.
- Calibration → Max flowrate. A part prints in which the flow gradually rises.
- Find where the surface starts to break up, read the value and enter about 10% less in the profile – for a safety margin.
4. Pressure advance
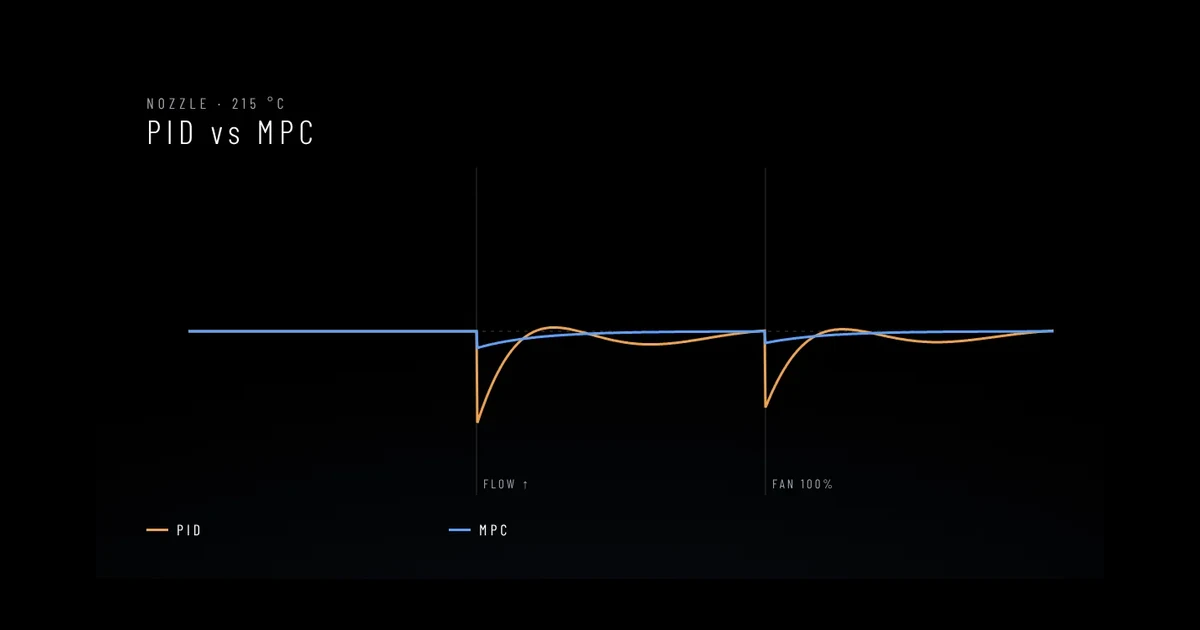
Compensates for nozzle pressure when accelerating and braking. Without it corners bulge and line starts are under-extruded.
- Calibration → Pressure advance. For direct drive printers the line or pattern method is usually enough.
- Pick the line or corner whose width is most even along its whole length – no blobs at the ends and no gaps at the starts.
- Enter the value in the filament profile (Filament tab → pressure advance). Each material has its own value.
5. Retraction
Reduces strings between parts.
- Calibration → Retraction test. A tower with increasing retraction length.
- Pick the smallest value at which strings disappear. Too much retraction can clog the nozzle and cause under-extrusion after travel moves.
- If strings remain despite long retraction – first dry the filament and lower the temperature by 5 °C.
6. Final check
Print a part similar to what you produce. If it is good – save the profile under a clear name and make a backup (export the profile). If not – see the most common problems.
Want a ready, tested profile for your machine and material? We will set it up for you.
See also: new filament from A to Z · pressure advance