Revo OS is the control system of Revon 3D printers, built on Klipper. We designed the machine’s touchscreen from scratch – in place of the standard KlipperScreen. In this guide we go through every screen and every function: what it does, how to use it and why we did it differently from the original.
KlipperScreen is a great open project – but it is written for hobbyists who build and tune their own printers. In a company the machine is run by operators who are there to print, not to configure Klipper. So we stick to three principles: fewer options on the surface, big, readable buttons and a machine that guards against typical mistakes by itself. The technical tools have not disappeared – they are in service mode, and if there is a problem one button switches you to full KlipperScreen.
Contents
- Home screen
- Files and printing
- Filament and spool
- Nozzle change
- Temperature
- Motion and axes
- Operators
- Maintenance and machine test
- Report a problem
- Revo Library
- Network and phone panel
- About system, licence, lock
- Power and screen mode
- Screensaver and messages
1. Home screen – machine status at a glance
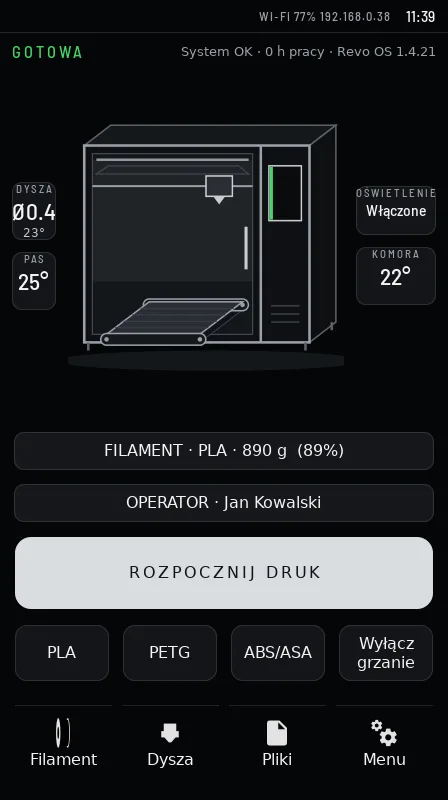
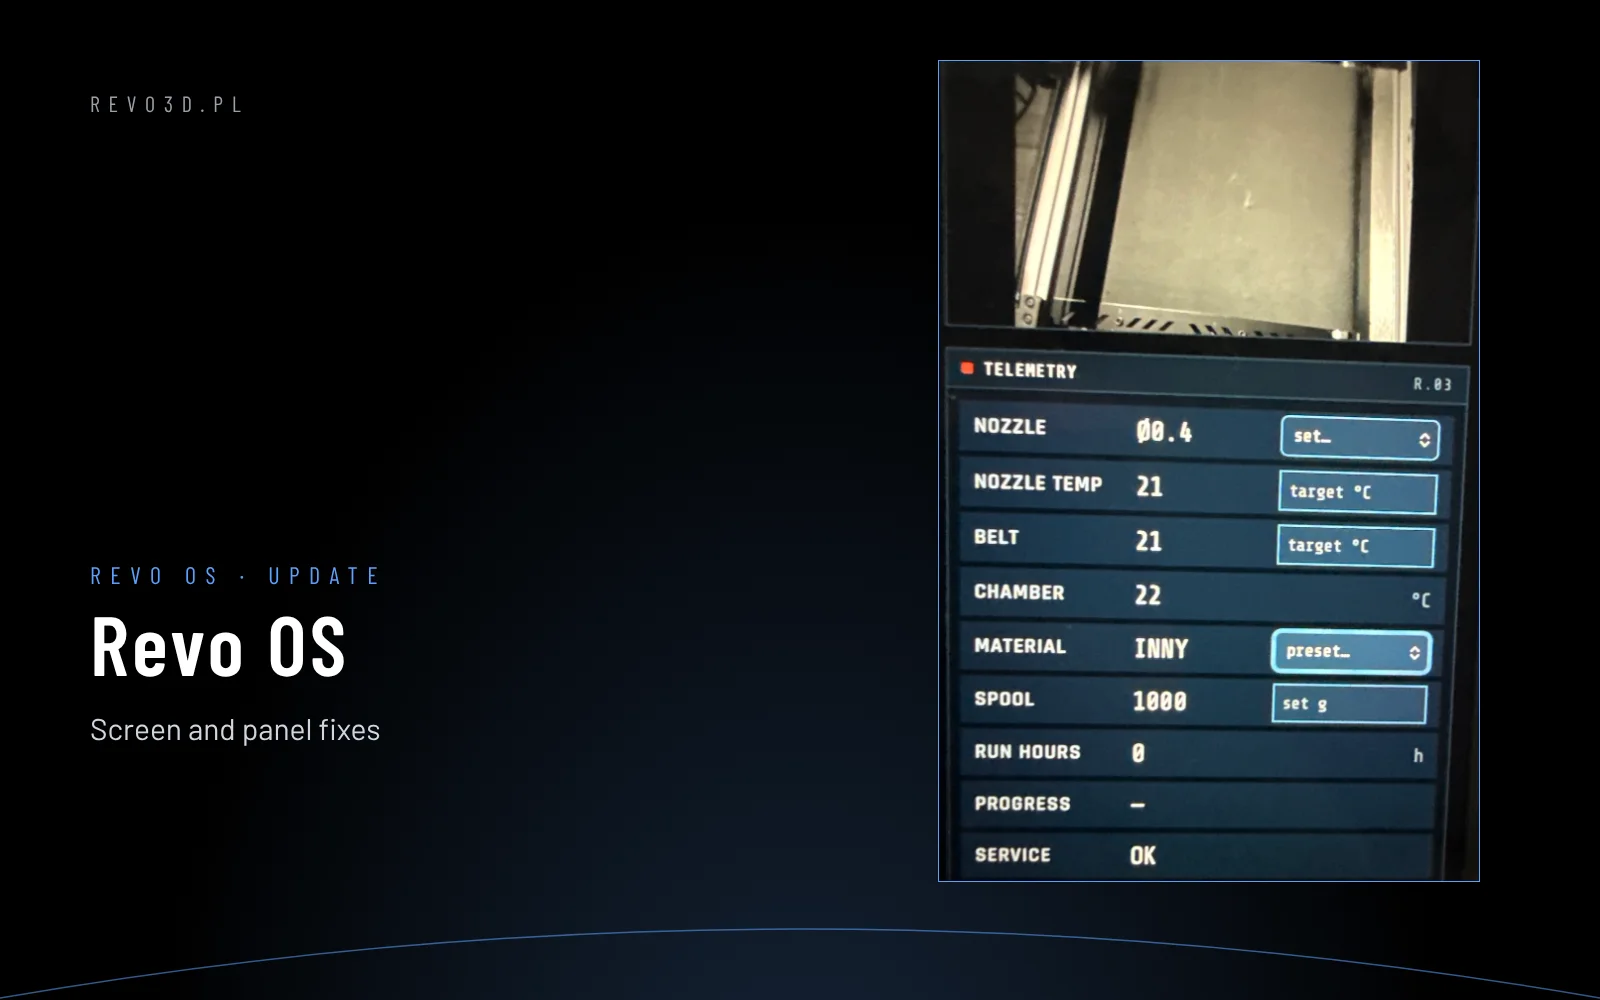
At the top you see the machine status (READY, HEATING, PRINTING, BELT CALIBRATION, ERROR), the connection (LAN or Wi-Fi with signal strength and IP address) and the clock. Below is a diagram of the machine with nozzle, bed or belt and chamber temperatures, the installed nozzle (diameter and material), lighting status, the current filament with the amount left on the spool and the logged-in operator.
At the bottom: START PRINT, quick heating for PLA, PETG, ABS/ASA and Heaters off, and in the bar – Filament, Nozzle, Files and Menu. The vertical light bar on the left shows the status from a distance: green – ready, white – print progress, red – something needs attention.
Why different from KlipperScreen? Standard KlipperScreen opens with a grid of a dozen icons (Move, Temperature, Extrude, More…) and a temperature graph. To check whether the machine is ready you have to visit several places. An operator needs answers to three questions: can I print, what is installed and who is working – so we put that on one screen.
2. Files and printing
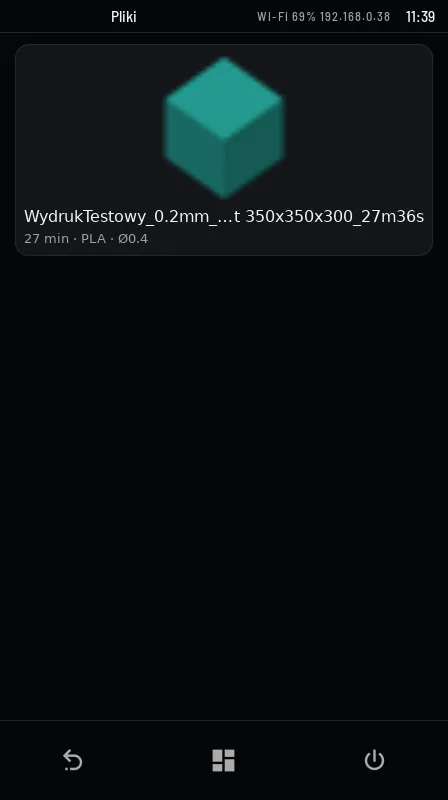
The file list shows a thumbnail of the model, print time, material and the nozzle diameter the file was prepared for. Tap the file and PRINT – the machine does the rest: heats up, levels the gantry, probes the bed and starts.
Before the start Revo OS checks three things: whether the nozzle in the file matches the installed one (a file sliced for 0.6 mm will not start on a 0.4 nozzle), whether there is enough filament on the spool and whether the file comes from [r]evo Slicer or Orca Slicer. Files from other slicers (PrusaSlicer, SuperSlicer, Cura) are rejected – only our profiles guarantee the right temperatures, flow and nozzle check.
During the print you see the progress in percent, the remaining time and the finish time, the layer, the temperatures and the camera view. Pause, cancel and fine-tuning (speed, flow, Z) are at hand; the EMERGENCY STOP always works.
Why different from KlipperScreen? In KlipperScreen the file list is a plain list of names, and checking whether a file suits the machine is left to a human. The most common wasted prints in companies are the wrong nozzle, too little filament and a file from a “home” profile – so the machine catches these mistakes before it starts heating.
3. Filament and spool
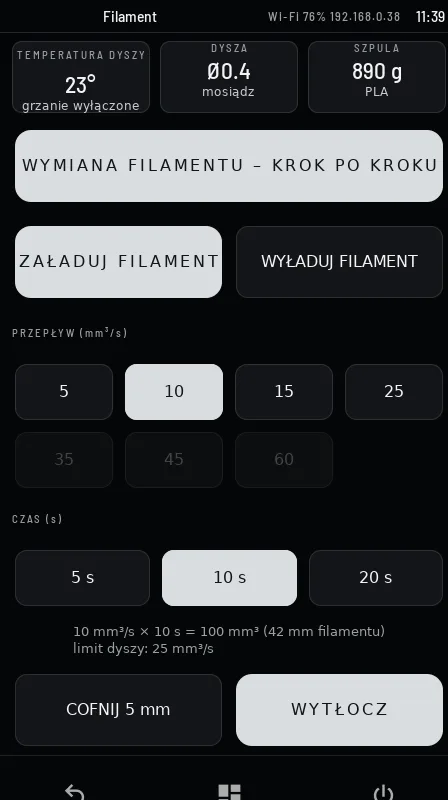
The Filament screen has a FILAMENT CHANGE – STEP BY STEP button that guides you through unloading the old material, choosing the new one and loading it. For manual work there are LOAD, UNLOAD and EXTRUDE – you set the amount in mm³/s and seconds, and the system keeps within the flow limit of the installed nozzle.
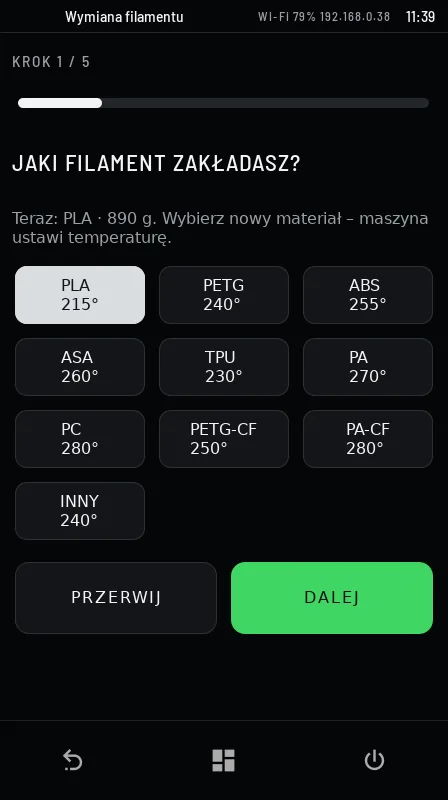
The wizard asks for the material (PLA, PETG, ABS, ASA, TPU, PA, PC, PETG-CF, PA-CF and others) and sets the right temperature. The spool counter tracks consumption, and before a print it warns if filament may run out.
Why different from KlipperScreen? KlipperScreen works with millimetres of filament and speed in mm/s – numbers that mean nothing to an operator and easily clog a nozzle. Flow in mm³/s is the same for all diameters, and the guided change removes the most common mistake: inserting material into a cold or too hot nozzle.
4. Nozzle change
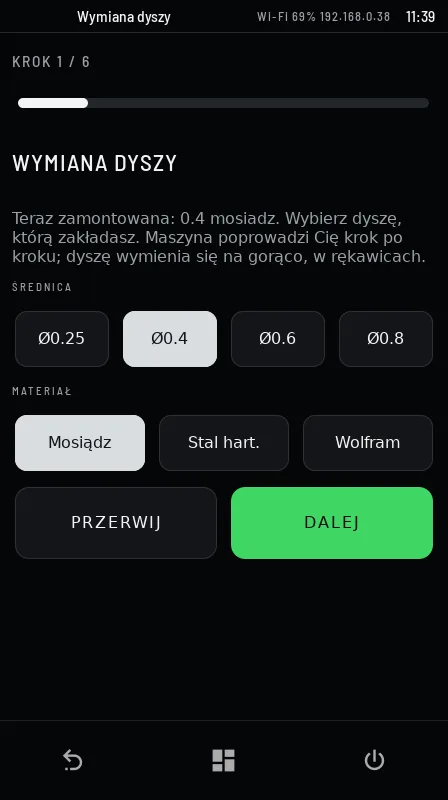
Guided nozzle change: you choose the diameter (from 0.25 mm) and material (brass, hardened steel, tungsten), the machine heats the toolhead and moves it to the service position, and you change the nozzle hot, step by step. Finally Revo OS remembers the new nozzle – from then on it checks it before every print and counts its wear.
Why different from KlipperScreen? In standard Klipper the machine does not know which nozzle is installed – that information lives in the operator’s head. Without it you can neither block a wrong file nor remind about replacing a worn nozzle.
5. Temperature
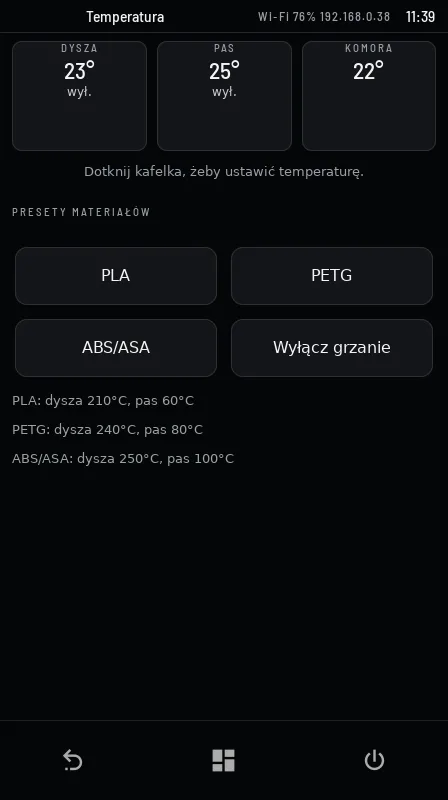
Three tiles: nozzle, bed (on Revon Belt – belt) and chamber. Tapping a tile lets you set the temperature, and the PLA, PETG and ABS/ASA presets heat the machine with one tap. Bed and nozzle heating is controlled by MPC (model predictive control) – the temperature is more stable than with classic PID, especially with large, heavy beds. During MPC calibration the screen shows BELT / BED / NOZZLE CALIBRATION.
Why different from KlipperScreen? In KlipperScreen the temperature screen is a list of all sensors, a graph and a numeric keypad. An operator only needs three temperatures and ready presets – board and Raspberry Pi sensors are for service.
6. Motion and axes
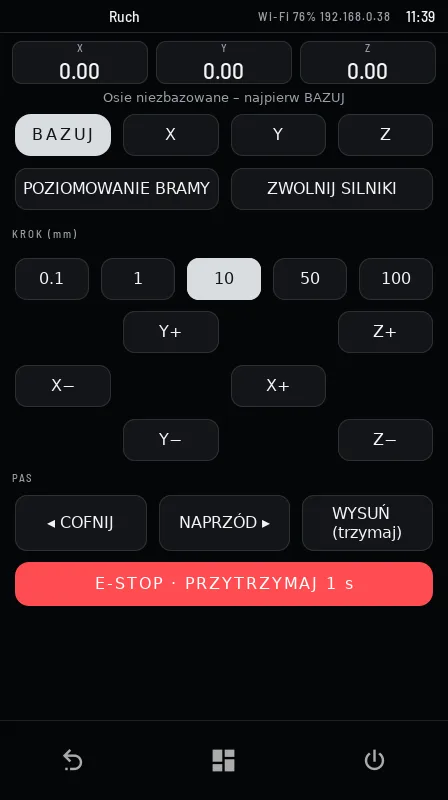
HOME, GANTRY LEVELING, DISABLE MOTORS, moving the axes by 0.1–100 mm and the current positions. On Revon Belt there is also belt control: back, forward and EJECT the print. The red E-STOP button must be held for a second – so the machine is not stopped by an accidental touch.
Why different from KlipperScreen? The standard motion screen does not know about a belt or gantry levelling (quad gantry level) – in KlipperScreen these are separate macros hidden in the menu. On our machines they are daily tasks, so they sit next to the axes.
7. Operators
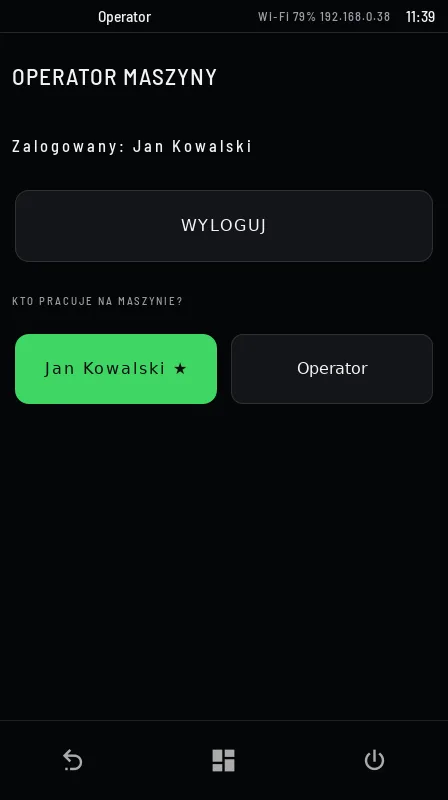
You can choose the manager (with a PIN – manages the machine, operators and slicer access), separate operator accounts with a PIN, or a shared “Operator” account without a PIN – for companies that do not want to create personal accounts. Print history and reports show which account started the print. The same accounts log in to Revo Panel in the browser.
Why different from KlipperScreen? Klipper has no concept of a user – anyone with network access can control the printer. In a company you need to know who printed and keep random people away from the machine.
8. Maintenance and machine test
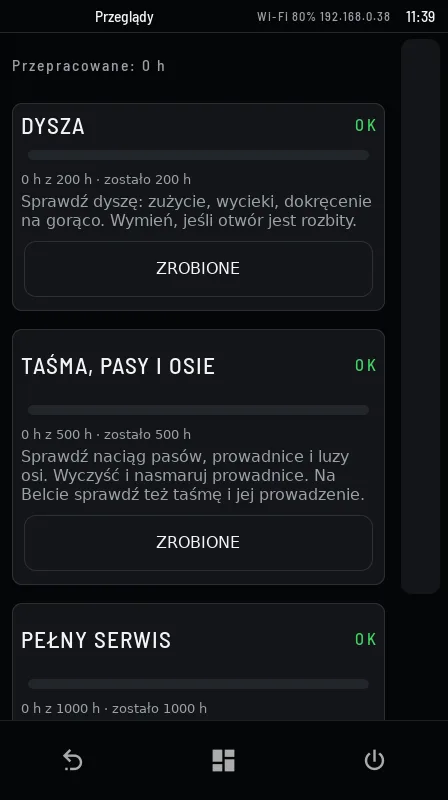
Revo OS counts the working hours of the nozzle, belts, rails and bearings, shows how long until the next service and suggests what to check. After replacing a part you reset its counter. The wear forecast lets you order a part before the machine stops.
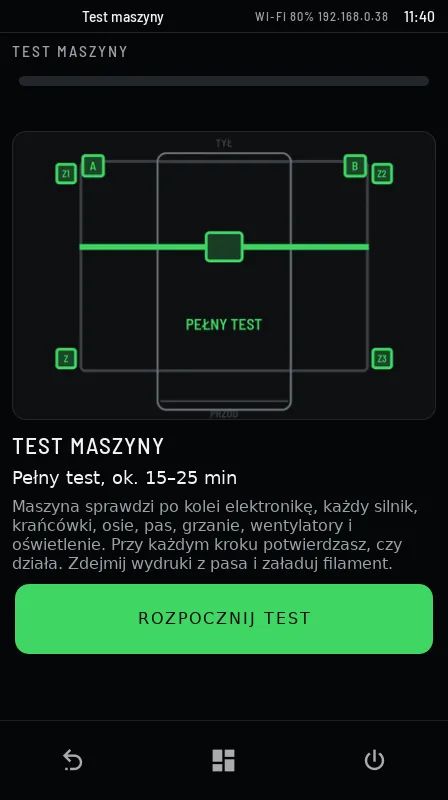
Machine test checks electronics, thermistors, every motor, the belt, endstops, homing, levelling, probe, heating, fans, extrusion and lighting one after another. At each step you confirm WORKS or describe the problem – the result goes to Revotech service. In addition, the machine runs a quiet self-diagnosis every day and warns when something gets worse.
Why different from KlipperScreen? In standard Klipper maintenance and tests are a sheet of paper or the service technician’s memory. Counters and a guided test turn service from “repair after a failure” into a planned, short break.
9. Report a problem
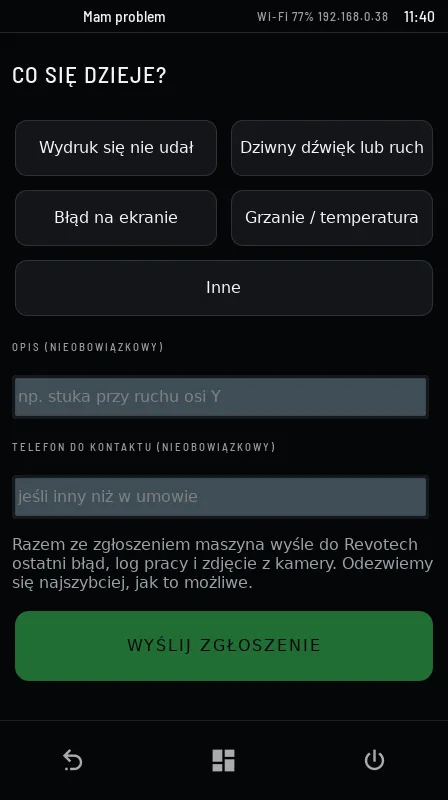
The operator chooses a category (print failed, strange noise, error on the screen, heating, other), adds a description and a phone number. The report goes to Revotech service together with the last error, the file, the layer and a camera image – before you have time to call.
Why different from KlipperScreen? In KlipperScreen an error leaves a message and a klippy.log file that has to be downloaded and sent by hand. Here a report with full context is sent with one button.
10. Revo Library
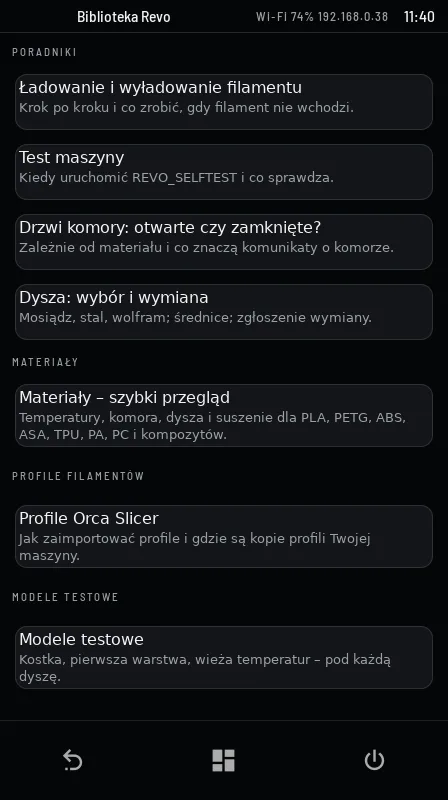
Guides (filament, machine test, chamber door, choosing a nozzle), material sheets with temperatures and drying, filament profiles and test models – right on the machine screen and in Revo Panel.
11. Network and phone panel
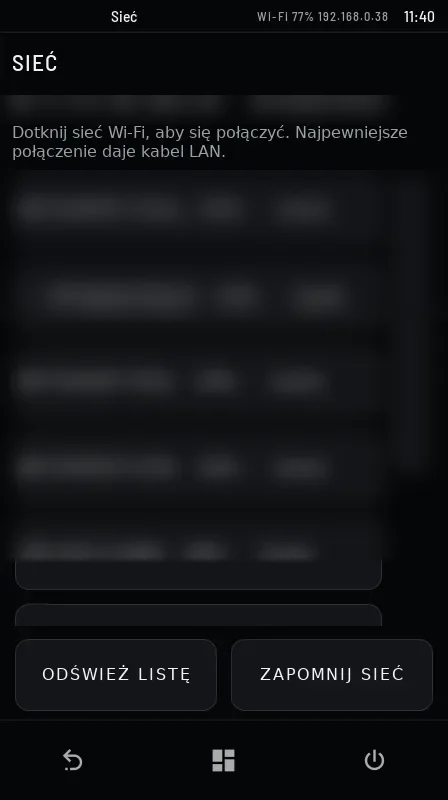
The Network screen shows whether the machine is connected by cable or Wi-Fi, with which IP address and signal strength. Choose the Wi-Fi network from the list, enter the password – done. For work in a company we recommend a LAN cable: it is more stable on a busy network.
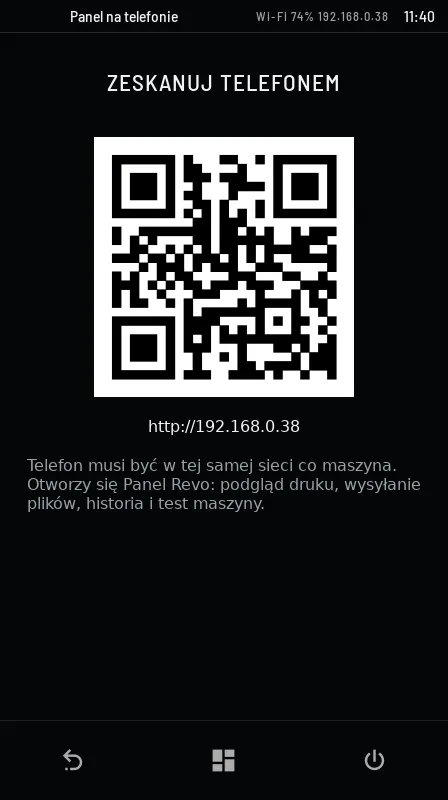
The QR code opens Revo Panel on a phone or tablet: camera view, progress, files, motion, filament, bed mesh and service – without installing an app.
Why different from KlipperScreen? KlipperScreen’s standard network panel looks like Linux system settings and requires NetworkManager in its “advanced” form. Ours shows only what is needed to connect the machine.
12. About system, licence and screen lock
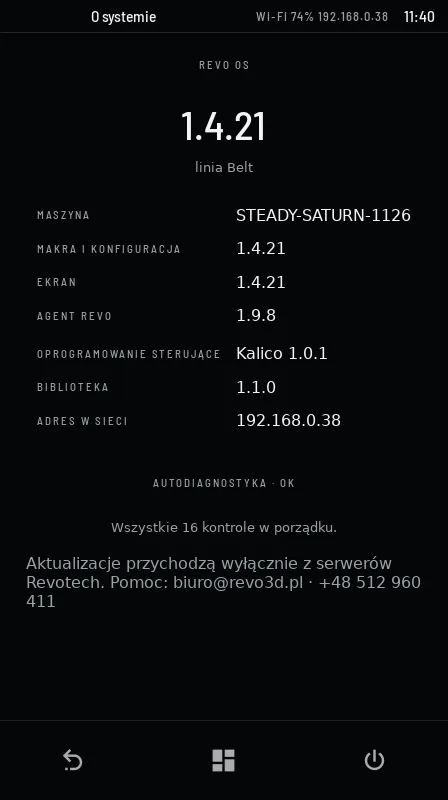
About system shows the version of Revo OS and all its components (Klipper/Kalico, screen, Revo agent, library), the machine ID, the network address and the self-diagnosis result – the first thing service will ask for.
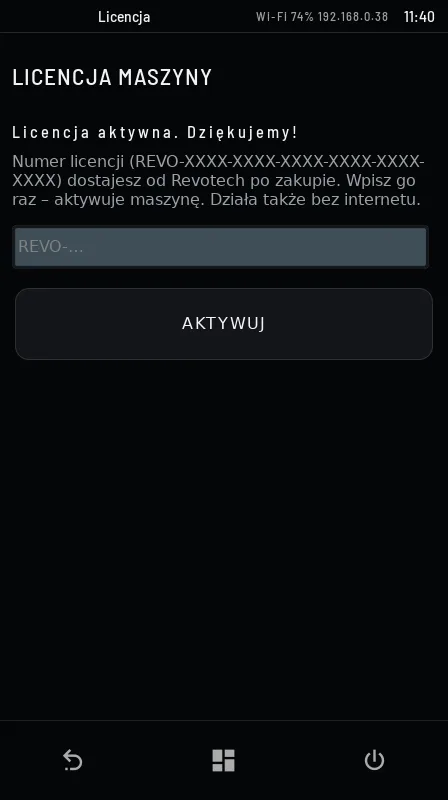
You enter the licence number once, on the machine screen – it also works without internet. A licence lock never interrupts a running print.
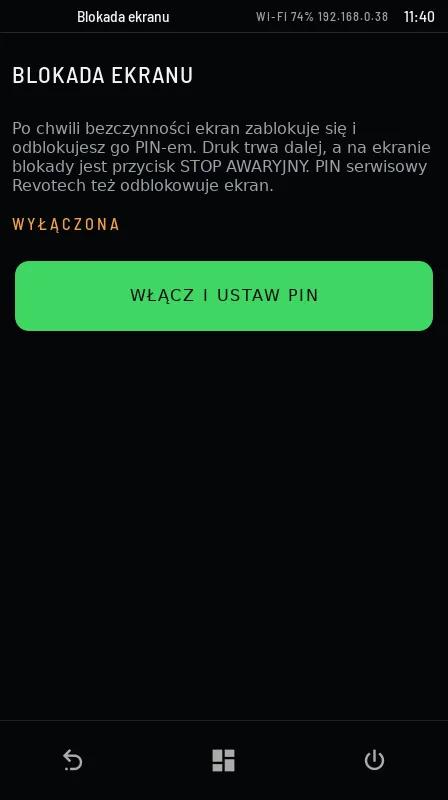
Optional screen lock with a PIN after a period of inactivity – the print continues and the EMERGENCY STOP always works.
13. Power and screen mode
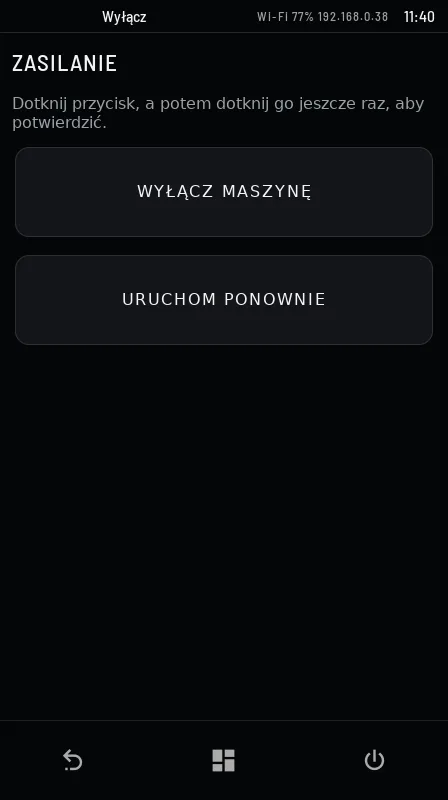
SHUT DOWN MACHINE and RESTART – you confirm with a second tap of the same button, no pop-ups. During a print the buttons are inactive.
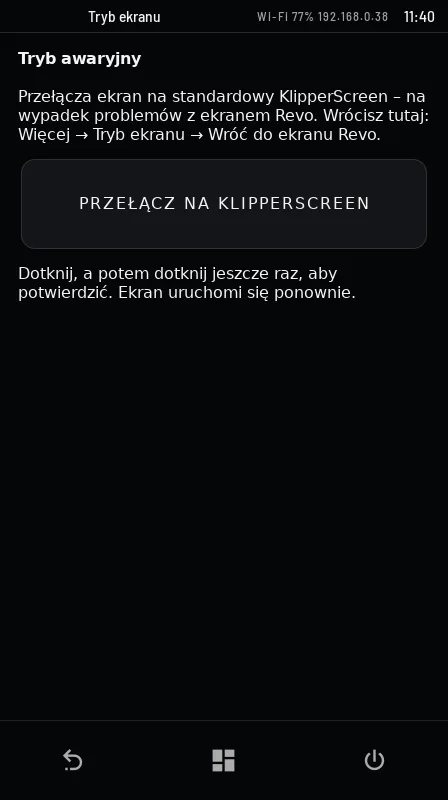
Screen mode (More → Screen mode) switches to the standard KlipperScreen with all its tools – in case of problems or for service work. In the same place you return to the Revo screen.
Why different from KlipperScreen? By simplifying the screen we did not want to take Klipper’s capabilities away from anyone. Full KlipperScreen is always two taps away.
14. Screensaver and messages
After a few minutes of inactivity a screensaver with the status bar and temperatures turns on – you can see from a distance whether the machine is printing and how much is left. Tap anywhere to wake it. Messages (e.g. nozzle too cold, file from another slicer) appear as a bubble and disappear by themselves – nothing to click.
Why different from KlipperScreen? With many messages KlipperScreen opens windows with an OK button or switches to other panels by itself, e.g. temperatures. On a machine that prints for hours unattended, the screen should inform, not wait for a click.
Summary: Revo OS vs standard KlipperScreen
| Function | KlipperScreen | Revo OS |
|---|---|---|
| Home screen | icon grid and graph | machine status, nozzle, filament and operator on one screen |
| Starting a print | no file check | nozzle, filament and slicer check |
| Filament | mm and mm/s | mm³/s and guided change |
| Nozzle | no information | guided change, wear counter |
| Users | none | manager, operators, shared account |
| Service | klippy.log | part counters, machine test, Report a problem |
| Messages | windows with OK | bubbles that disappear by themselves |
| Technical tools | on the surface | in service mode and fallback mode |
Revo OS comes as standard with every Revon 3D printer, and existing machines are updated during service. More: Revo OS. Want to see the system live? Write to us. Printing large parts? See the Revon 600 large-format 3D printer (600×600×600 mm), the 1200×600 3D printer or the belt 3D printer for series production.
See also: connecting the slicer to the printer